Monday, May 13, 2013

Asparagus and Poached egg Ensemble


This is super simple great little combo, and so simple too!!


Ingredients: 
1 egg per person (or two if you're a bit more peckish)
Large bunch of asparagus
3 heaped tablespoons of ground almonds
2 heaped tablespoons of finely grated parmesan
2 garlic cloves, finely chopped
salt and pepper
Baby spinach leaves

Dressing of your choice

Method:

Turn on your grill to begin warming up.
With your asparagus, you will need to 'snap' off the ends to get rid of any of the 'woody' parts.  Place your asparagus on a foil-linned tray.

In a small mixing bowl, place your ground almonds, grated parmesan, garlic and a sprinkling of salt and pepper and mix well.

Scatter this mixture over your asparagus, and set under the grill. This should only take about 5 minutes.

Meanwhile, heat a small frying pan up with some oil. Crack your eggs in, making sure they do not run into each other. 
When almost set but with your yolk still very runny, give each a gentle little flip- count to 10 and take off of the heat.

Your asparagus should also be done now. This is how mine looked...


To assemble, place a large handful of your baby spinach leaves onto a plate. Grab a few stalks of your grilled asparagus and layer on top of your spinach; make sure you scrap up some of the garlicy-ground almond mixture to sprinkle over the top- there is a lot of flavour in there! Place your perfectly fried egg on top, drizzle with your favourite dressing and enjoy!!


Tuesday, April 16, 2013

Paleo Coconut and Carrot Cake


In my GCSE year, I studied food technology where by myself and my class mates would find our favourite recipes to cook, explore food, and learn about the science behind it. My friend Emily decided, for her final cooking practical, that she would make a carrot and coconut cake; and oh my was it scrummy! She later gave me the recipe and I made it a few times since, sharing it with another few who asked.  Seven years later, and I have (annoyingly) misplaced the well-used scrap of paper that read the recipe to Emily's carrot and coconut cake (DANG)!!  So... using my foggy memory, my interest in paleo food and a little research into Paleo baking, I have attempted to recreate this little gem; I substituted flour for coconut flour, sugar for honey, and butter for coconut oil. PALEO here we come!
The coconut ingredients in the cake keep the whole thing completely moist, while the raisins and the walnuts give it a little bit of texture.
I think I have succeeded in recreating it? ....... Well you can judge that after making it yourselves....

For the icing, I used Greek yoghurt and for some Paleo followers, they would argue that this is not part of the diet. You can decide weather you want to add this or not, and by all means make a different icing!! The one I have put here is only a suggestion!!


Ingredients:


Sponge:

1/4 cup honey
1/4 cup coconut oil
3 medium carrots, grated
4 eggs, beaten until they are well scrambled
1/4 coconut flour
1/2 desicated coconut
1/4 linseeds
1/2 cup raisins
1/2 cup walnuts
2 tsp cinnamon
1 heaped tsp baking powder


Icing: (optional)

2 tbsp fat free greek yoghurt
1 tbsp honey
2 tbsp ground almonds
1 tsp cinnamon
Toasted coconut flakes


Directions:


Set oven to 180 degrees. Line a medium sized tin loaf with baking parchment, and grease to make sure nothing sticks.


Wash, peel and grate your carrots. Set aside.


In a bowl, melt coconut oil so it is liquid, and beat well with the honey.


Add your beaten eggs, and sift in your coconut flour over the top (this is to make sure there are no lumps!). 


Beat well.  You will be able to see the coconut flour expand and thicken the batter. Make sure there are no lumps!  Add your grated carrot, your linseeds, raisins, chopped walnuts, desiccated coconut and baking powder. Beat well until all the ingredients are mixed well.


Tip mixture into your prepared cake tin and set in the oven. 


Bake for about 50 minutes until a skewer comes out clean.  Equally you can make the mixture into muffins, but keep in mind it will probably take a shorter time to bake!
Once cooked, take it out and set it onto a wire rack to cool. 


The Icing is optional, but I think it adds something a little extra to the flavour... plus it looks pretty too! To make the icing, measure out all of your ingredients into a bowl.


Beat well. It should look something like this....


In a small frying pan, tip out a large handful of coconut flakes and put them into the pan dry. On a low heat, toast the flakes until golden brown. Keep your eye on them, they will start to brown very quickly! 


Once the cake has cooled, spread over your icing evenly and sprinkle on your toasted coconut flakes.


Serve and Enjoy.....


Monday, April 8, 2013

Sweet Potato Fries


Quick, easy and tasty! 

These Sweet potato chips are just great, and you can whip them up to absolute perfection in no time at all! They are minimal admin with them being baked instead of deep-fried, also making them a healthier choice, AND super delicious! The sweetness from the potato caramelises when baked, making them soft in the middle, crispy on the edges and just simply melt in your mouth! 

The little trick of the trade for cooking these guys.....?
Using a plastic freezer bag to help evenly distribute your oil and seasoning is a great little tip I came across, whilst prowling the internet one evening. This is the first time I had tried this, and it was a genius idea!! Why didn't I think of that one first- DANG...

Anyways, here's to the health side of things......

Sweet potatoes are known as a 'Low GI' food, meaning that they release glucose more slowly and steadily within your body, giving you more sustained energy levels throughout the day. They are extremely high in vitamin A (which is predominantly important for the health of the retina within your eye; ie the health of your vision), as well as both vitamins C and D (Immune support). They are a good source of magnesium (which is famous for being the 'relaxation and anti-stress mineral'!), potassium (aids in nerve functioning and the control of blood pressure), and iron (which helps keep your energy levels high, aids in the production of both white and red blood cells within the body, and helps to maintain your immune system at its optimum). Vitamin B6, also noticeably present within sweet potato, acts as a coenzyme to many other enzymes in the body, essentially boosting the body's metabolism. Per 100g raw they contain: 86 cals, 20g complex carbohydrates, 2g protein, 3.4g dietary fibre, and zero fat.....

These little orange guys pack a nutritional punch, hey!?

Ingredients:

Sweet potatoes, (I would measure about 1 regular sweet potato (approx 130g) per person)
1 tbsp olive oil or oil of choice per potato 
Salt, Peper, and any spices you fancy! (chille flakes, cumin, paprika, garlic, curry powder....)

I went for a shake of salt and chilli flakes in this batch!

Directions:

Set the oven to 180 degrees.
Begin by scrubbing your sweet potatoes, and cutting any gross ugly bits off. You don't necessarily need to peal them, but if you prefer to do so, go ahead! Especially when they may be from a green grocers and are still accessorising with a little bit of mud!!

Chop them into chip shapes about 1/2 cm wide


Put all of your chip-shaped-sweet-potatoes in a large freezer bag, drizzle in your oil and seasonings, seal it, and give it a big shake around. Keep shaking until you think your fries have an even coating of everything.


Tip out onto a baking tray. 


If you want to save yourself a bit of washing up, lining it with a bit of baking parchment or foil always saves you scrubbing away at your dish afterwards! Make sure all of the potatoes have their own space. You don't want them over lapping each other, as they won't go as crispy!!


Bake for about 30 mins until you can see the edges turning golden brown! 


Take out of the oven and serve!


Friday, April 5, 2013

Peanut butter Chicken


This is a recipe I came up with after having made my first batch of home-made peanut butter.... 

(Follow the link for the recipe here: loubieloup.blogspot.com/homemadepeanutbutter )  

I was so addicted (actually.... correction, I am still very addicted to it), and I consequently got carried away adding it to a main meal sauce. Holy smokes was it delicious I have made it three times since then! If you want something bursting full of flavour, easy to make yet super impressive- give this a go!! It makes great left overs to add into salads, wraps or cous cous for lunch too!! I promise you wont be disappointed...

Ingredients:

800g (approximately) chicken breasts, cubed
4 heaped tablespoons of chunky peanut butter
Chicken stock cube
1 cup boiling water
1 tbsp tumeric
5 cloves garlic, roughly chopped
1 tsp chilli flakes (or use a small fresh chilli if you have them lying around!)
1/4 cup coconut flakes
2 large leeks
1 red bell pepper
coconut oil (or oil of choice) for frying

I used spinach to serve, however those who want filling up a bit more go for rice/ sweet potato, whatever you like!!


Directions:

In a large bowl, add your peanut butter, your stock cube, garlic, chilli, tumeric and coconut flakes. Pour over about a cup of boiling water mashing (the peanut butter and stock cube) and mixing the ingredients together to get a yellow chunky peanut like sauce. Add your chicken, cover with cling film and leave to marinate in the fridge while you do your other prep. 


This step could also be done in the morning and left to marinade all day, ready for you to fry up for dinner!

Chop your leeks and bell peppers up into your desired shapes. In a large frying pan, add your coconut oil and fry your vegetables on a low heat. 


After they begin to soften, add in your bowl of marinated chicken and leave to simmer, stirring every 5 minutes or so to make sure the chicken is cooked evenly. 


Once cooked though, serve immediately! Season if desired, however there is a lot of salt from the stock cube!


As mentioned before, I served mine on a bed of spinach with sweet potato fries (recipe to come!) but equally this curried flavour would go well with rice, noodles, sweet potato or even wacked in a wrap! Yum yum yum.....


Tuesday, April 2, 2013

Hope you all had a Happy Easter!!

Hope you all had a lovely easter, had a great break, and got given a fair amount of chocolate! In the spirit of easter my sister and I decided to make some chocolate treats which I thought I would share with you on here..... 


White chocolate and linseed Rice krispy 'chicks' and some dark chocolate cashew nut and apricot 'nests'...... You can guess which ones were my favourite.... YEP the dark chocolate ones, although the white chocolate batch went down a treat with the rest of the crew!

So why is chocolate not ALL that bad?!

Chocolate in it's purest form is actually quite good for you!! Cocoa is full of antioxidants, consequently helping your body to fight cancer; it is said to fight PMS, release endorphines,  and boost your libido,  all in all helping your mind and body function! However, everything in moderation.... everything else that goes into the average chocolate bar such as huge amounts of sugar, additives, and fat make chocolate in general quite calorific as well as spike your sugar levels in huge intervals. Therefore, the darker the chocolate, the higher the percentage of cocoa, the more beneficial your square of chocolate will be and generally speaking.... the less guilt you will feel chowing down a large bunch of the stuff! 

However....

White chocolate, is technically speaking not chocolate. It does not contain any cocoa solids, but only the cocoa butter extracted from the cocoa bean mixed with sugar, milk and soya lethicin. Therefore, one would not gain the same benefits from consuming white chocolate than they would consuming dark chocolate (around 50%-85% cocoa), nor even milk chocolate (30%-50% cocoa solids). However, again, nothing is bad in moderation, and its easter after all!! 

So guys... if you, like me, have a bunch of left-over chocolate sitting around to be played with in the kitchen, go ahead and whip yourself up some of these little treats! They really are very sweet looking, super easy and have I mentioned that they taste great?!

Ingredients:

White chocolate chicks:

2 cups rice krispies
200g white chocolate
1/4 cup linseeds
raisins and apricots to decorate

Dark Chocolate Nests:

150g dark chocolate (70% more)
2 shredded wheat biscuits
8 apricots, chopped up into small pieces
1/4 cup raw/ unsalted cashew nuts, chopped 
1 bag of mini eggs

You will need some cup-cake cases too....


Directions:

On a tray, set out your cup cake cases ready for you to spoon the mixture into....


Each batch will need to be done separately! 

For the White chocolate chicks....

Prepare your apricot beaks by chopping the apricot in half and the twice more into triangular shapes. They dont need to be perfect! Set these aside.


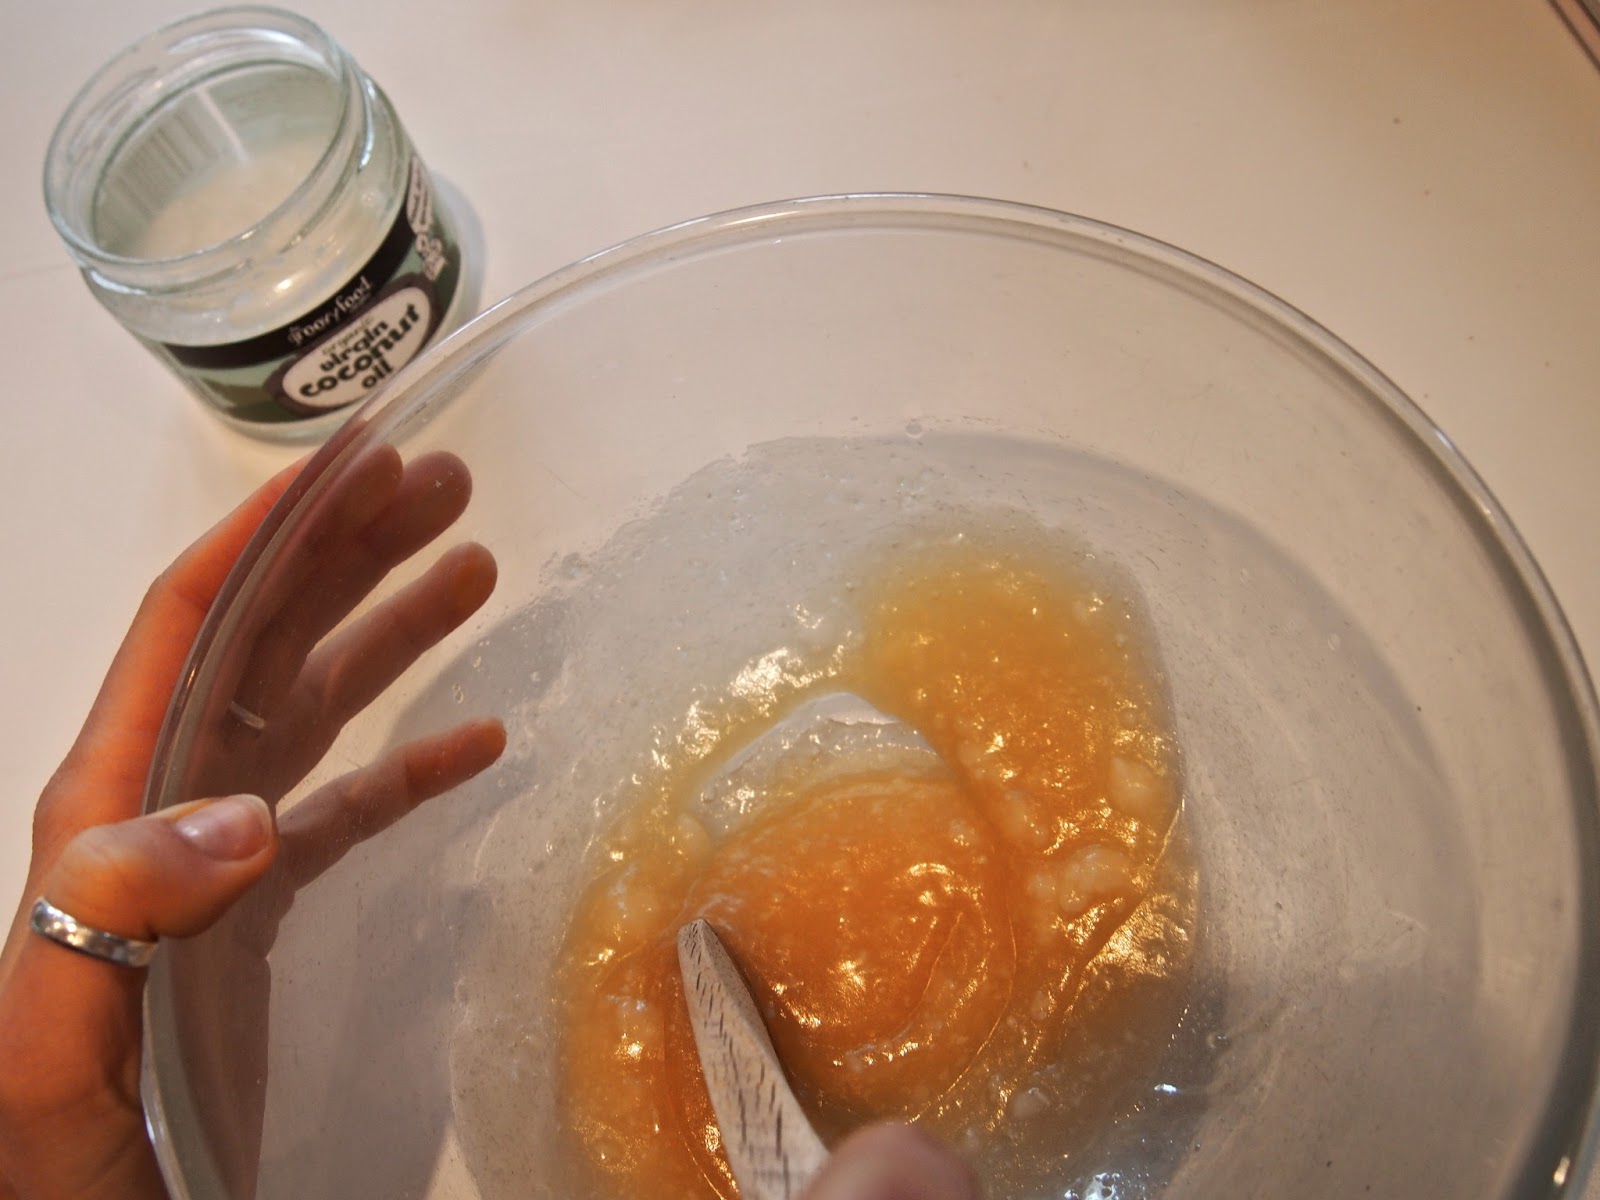
In a glass bowl melt the chocolate either over some hot water on the hob or alternatively in the microwave- however if you decide to go with the latter, it is important not to burn the chocolate as this is VERY easily done. Put the chocolate in the microwave for 40 seconds and no more, take it out and stir, set it on again for another 30 seconds. By this point the chocolate should have started to melt; it may need one more blast but remember that even when it is out of the microwave, the chocolate will continue to melt, so all it may need is a good mix! The above steps refers to a 600W-800W microwave!


Once the chocolate is melted, (note:  you dont want the chocolate piping hot as this will make the rice kispies go soggy.....! Go for warm but melted all the way through) add in the Rice Krispies and your linseeds, and fold in to the chocolate.


Mix until all of the ingredients are incorporated, and begin to spoon the mixture into the ready prepared cases. Try not to take too long doing this step as you will need to 'stick' on your apricot beaks and rasin eyes before everything sets!


Once spooned the mixture into the cases, begin to decorate placing two rasins as the chicks eyes and one apricot triangle for its little beak. Leave these on the tray, wash up your mixing bowl/ or use another one if you have one and begin to pepare your dark chocolate batch.


Dark Chocolate Nests:

Chop your Cashew nuts and Apricots into small chunks.....


Repeat the step to melt your chocolate in your mixing bowl.

Add your chopped Cashew nuts and Chopped Apricots


Grab your shredded wheat and gently break it up into the mixture


Fold the mixture together and spread the chocolate around to ensure it covers all of the ingredients.

Again, once all the ingredients are mixed together well, begin to spoon into the little cake cases.


Arrange a few mini eggs on the top to make your little nests.

Grab your tray of chocolate treats and set in the fridge for AT LEAST an hour until they are hard, not sticky and 'set'.


SERVE!!!